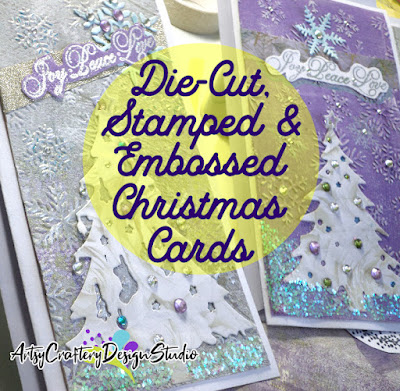
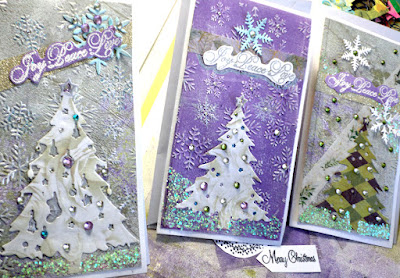
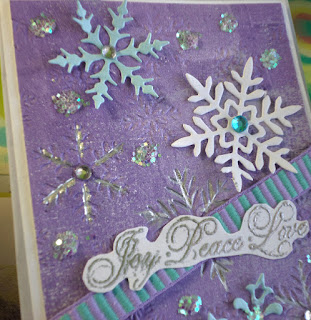
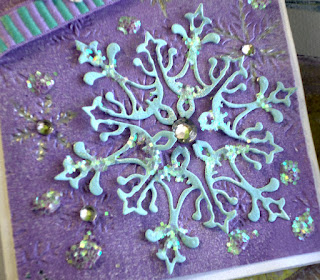
After trimming my gel plate-printed papers, I dry-embossed them with an Aliexpress snowflakes embossing folder. I highlighted some of the dry embossed snowflakes with silver metallic gel and paint pens.
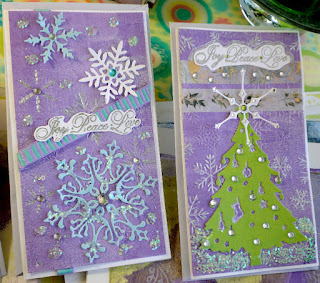
Joy Peace Love is stamped/embossed with a sentiment stamp from an Aliexpress holiday set. I refreshed my Stampabilities embossing ink pad with a few drops of glycerin spread across the top and lightly pressed in with a spoon. It has lasted well over 2 years. You can get a bottle of glycerin at most drug stores or the pharmacy of discount stores.
The heat embossing of the stamped text was done with Ranger Snowflake Embossing Tinsel (a combo of white embossing powder and silver glitter) and Joann Craft Essentials Silver. I kiss-trimmed each sentiment.
I stamped inside sentiments of Merry Christmas and a Joy To The World wreath, with the same Aliexpress holiday set, with Memento Tuxedo Black. You can see part of these sentiments in image #2, where I off-stamped on little pieces of card stock.
I adhered Washi tape from Amazon and Aliexpress and mini ribbon trim to the embossed panels and glued them to the folded, white cardstock. After I attached the snowflakes and trees, I positioned the Joy Peace Love sentiments and glued on.


I stamped my logo on back with a Zazzle customized stamp in My Favorite Things Boysenberry.
These multi-technique holiday cards came out very well to be a rushed job. Next year, I'm going to start earlier, I always say!
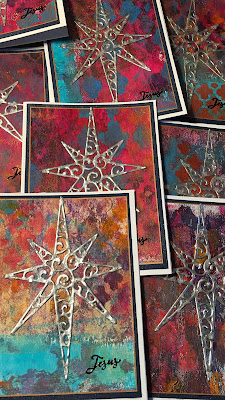
Merry Christmas! Joy, Peace & Love To You & Yours!
Note: Products without links means I couldn't find them or I don't remember where I got them.